
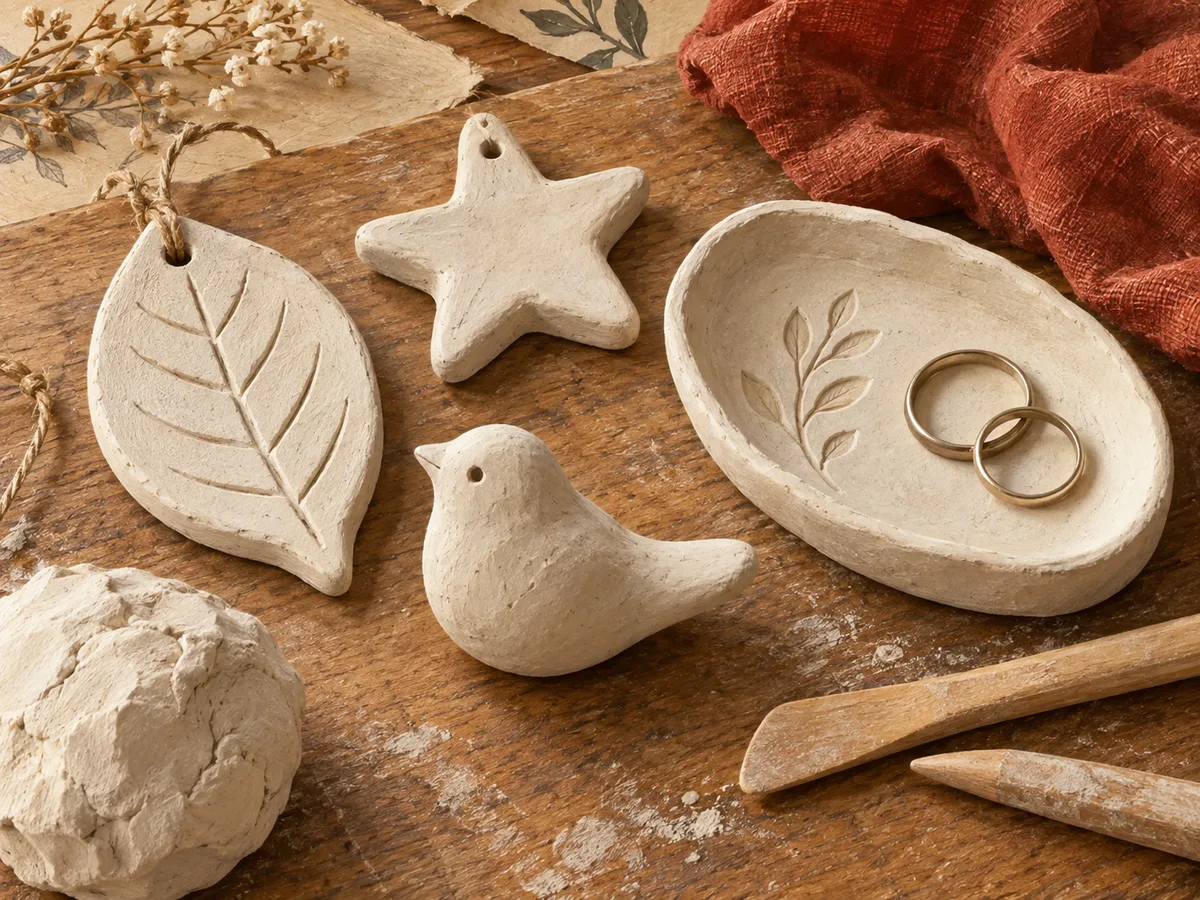
Air dry clay is a good way to make something small without buying a kiln for fired pottery. For this art medium, a few simple tools and a clear patch of table are enough for a first ornament or figure. The choice of sculpting clay still matters: some suit sturdy shapes, while others are better for light or detailed work.
I would begin with a small air dry clay project, then choose the clay around it. A hanging ornament has different needs from a solid figure. Buying the largest tub first can leave you working around the wrong material.
Air dry clay: the five picks at a glance
| Clay | Best for |
|---|---|
| DAS Air-Hardening Clay | Simple ornaments and sturdy shapes |
| Creative Paperclay | Lightweight models you can refine |
| Crayola Air-Dry Clay | Practice and group projects |
| La Doll Premier | Small figures and fine detail |
| Sculpey Air-Dry | Straightforward home craft projects |
1. DAS air dry clay: white or terra cotta
Good fit: Easy to smooth, shape and paint.
Keep in mind: Less suited to very thin, delicate parts.
DAS air-hardening clay is a sensible starting point for ornaments, relief work and small solid shapes. It comes ready to shape and hardens in air. The classic range includes white and terra cotta options.
I would choose white clay to paint. Choose terra cotta if you want the clay’s own color to show. Try a flat ornament with a stamped pattern first. You can learn to roll, dry and finish it without a lot of weak joints.
The tradeoff: this is not the pick I would make for the finest fingers, petals or tiny parts. Shape delicate details with care, and do not assume that a thin edge will be strong just because the main piece feels hard.
2. Creative Paperclay: for light, adjustable work
Good fit: Can be sanded, carved and built up after drying.
Keep in mind: It can still crack as moisture leaves.
Creative Paperclay is a lightweight modeling material that dries hard and can be carved or sanded. The maker also says fresh material can be added to dried work. That gives you a useful route to refine a shape in stages.
I would put it ahead of a heavy solid clay for hanging pieces or small models built around a suitable base. It is also appealing if you want to adjust the surface after the main shape has dried.
The tradeoff: lightweight does not mean crack-proof. Let the piece dry with care, and leave time for repairs. In the maker’s guide to fixing cracks, a working sculptor shows how cracks can be filled rather than treating every split as a failed project.
3. Crayola Air-Dry Clay: for practice and groups
Good fit: Resealable bulk tubs make repeat projects simple.
Keep in mind: Finished pieces are not waterproof, even when sealed.
Crayola Air-Dry Clay comes in resealable tubs, including a larger five-pound size. That suits a group doing the same project. It also makes sense if you want to work over a few sessions.
I would use it for learning basic shapes and making sturdy indoor crafts. The tub is part of its appeal: you can take out what you need, then close the rest. Still, seal it well and keep scraps from drying on the table.
The tradeoff: this is a craft material, not a shortcut to usable pottery. Crayola says dried pieces are not waterproof, even when sealed. Keep finished work indoors and choose a design that does not need daily washing.
4. La Doll Premier: for smaller, finer details
Good fit: Fine texture, light weight and minimal shrinkage.
Keep in mind: Small packs make large solid pieces expensive.
La Doll Premier Lightweight Stone Clay is the one I would shortlist for small figures and more detailed work. ACTÍVA describes a fine texture, light dried weight and minimal shrinkage. The dry material can be carved, drilled or sanded.
Those traits make it worth considering when a simple craft clay feels too coarse for the shape you want. A small pack can go further if you build around a suitable armature, or inner support, rather than making a large, solid lump.
The tradeoff: it costs more to make big solid pieces from small packs. “Minimal shrinkage” also does not mean none. Leave room for drying movement and follow the maker’s guidance when choosing a support inside the piece.
5. Sculpey Air-Dry: a clear no-kiln option
Good fit: A no-kiln option that can be painted after drying.
Keep in mind: The air-dry and oven-bake ranges must not be confused.
Sculpey Air-Dry is worth considering for simple home crafts that you plan to finish with paint. Choose the actual Air-Dry product, then follow the instructions on that pack for shaping and drying.
The name matters here. Sculpey sells several kinds of modeling material. A packet from its oven-bake range will not become air dry clay just because the brand name is the same.
The tradeoff: shopping by brand alone is easy to get wrong. Check the full name and curing instructions before starting. This matters most when you add paper, plastic or a support you cannot heat.
Air dry clay ideas for beginners
For a first air dry clay attempt, I would choose a flat hanging ornament, a small relief or a simple animal shape. Keep the walls and edges fairly even. A very thick centre and thin outer parts can dry at different rates.
If the piece will hang, dried weight matters. If it has tiny details, the texture and strength of those parts matter more. A tub that is good value for a group project may be the wrong buy for delicate miniatures.
Do not feel obliged to buy specialist tools at once. A smooth work surface and a few simple shaping tools are enough to learn what the clay does. Save a small scrap for testing the paint and finish you plan to use.
How long does air dry clay take to dry?
Air dry clay can feel dry outside while holding moisture within. Thickness, room conditions and the amount of water added during shaping all affect the wait. Follow the pack’s guidance and give thick pieces more time rather than relying on one fixed number of hours.
Set the work somewhere it can dry gently. Do not put it beside strong heat to hurry it along unless the maker gives a specific method for that product. Heat advice for one clay should not be copied to every other brand.
Plan the project around drying time. If you need a finished gift tomorrow, a thick model made tonight is a poor bet. Smaller, simpler pieces are easier to fit into a short schedule.
Cracks and joins deserve care
Adding lots of water can make clay easy to smooth, but it also leaves more moisture to escape. Use just enough for the job. Keep joints secure while shaping, and follow the clay’s instructions for joining fresh parts.
If a crack appears, let it guide your next attempt. The piece may have been too thick, dried unevenly, or been held by a base that could not move with it. Some materials allow you to fill a crack and refine it after drying. Test the repair on a spare piece if the result matters.
I would rather remake a small ornament once than hide a weak joint under paint and hope it holds. Paint is a finish, not a repair for every structural problem.
A few art supplies for sculpting
Keep the first kit small: a smooth board, a shaping tool and a little water. Use your fingers to form the main shape, then refine the details. Sculpting is more fun when you can change an idea without worrying about a big pile of tools.
For a larger sculpture, check whether your chosen clay suits an armature. This is an inner support that helps hold the form. Follow the maker’s advice for the support material and thickness. A firm base can help with sculpting, but the clay still needs room to shrink as it dries.
How to paint air dry clay
Wait until the air dry clay is fully dry before you paint. Brush away loose dust and test the paint on a scrap. If you sand, follow the product’s dust-control advice; do not leave fine dust across your work area.
For a few bold lines or small details, Posca markers can be convenient on a compatible dry surface. Check the marker’s surface guidance and try a hidden patch before drawing on the front of a piece.
For painted art, compare the effect you want before choosing a paint. A watercolor wash looks different from a solid acrylic coat. Test on a scrap with clean brushes and let it dry. The aim is to color the sculpture without soaking it.
If a part breaks off, use a glue suited to the dry material and the job. Check the glue label, support the join and wait for it to set. A repaired thin part may still be weak, so handle it with care.
Choose a finish that suits both the clay and paint. A sealer can change the sheen and color, so test that too. Traditional gouache paint can rewet; that matters if you brush a water-based finish across it.
Keep food and water out of the plan
Use these clays for decorative objects, not cups or plates you eat from. “Non-toxic” does not establish that a finished craft is suitable for food contact. A clear coat is not a blanket fix for that problem.
The same care applies to water. Crayola’s outdoor-use guidance says its dried, sealed air-dry pieces are not waterproof. For a plant display, keep the plant and water in a separate watertight pot. For flowers, choose dried stems rather than filling a clay vase with water.
Air dry clay, cold porcelain or fired clay?
These names cover different materials. Air dry clay hardens as it dries in the room. Fired clay needs a kiln and a process suited to that clay. A craft glaze painted onto air dry clay does not create the same surface as a glaze fired on pottery.
Cold porcelain clay is another modeling medium, not fired porcelain. Recipes and ready-made products vary, so check the instructions for the one you choose. Do not assume that a cornstarch-and-glue recipe behaves like a mineral air dry clay. They may shrink, flex and take color differently.
I would choose a ready-made air dry clay for a first sculpture. It removes one set of variables while you learn to form and join the parts. If you move to a different medium later, make a small test rather than expecting the same results.
A small project for a class or art teacher
For a group, I would choose flat ornaments or small pencil holders with sturdy walls. An art teacher can set out one example and let each person create their own pattern. Keep the design simple enough that sculpting stays fun across different ages and levels of experience.
Plan for the tools, drying space and finish as well as the clay. Put names under the work while it is soft. Leave time for a second session to add paint. Acrylic colors can be useful on compatible dry pieces; test before committing to a whole class set.
Air dry clay is a flexible choice for indoor crafts, but the finished sculpture may still be fragile. A small jewelry tray can hold dry trinkets; it should not become a dish for wet soap. I would encourage beginners to explore surface marks before trying thin petals or long unsupported arms.
The first pack I would buy
I would buy DAS air dry clay for a first ornament. Creative Paperclay suits light work, while La Doll Premier is my pick for fine detail. Crayola makes sense for repeated practice, while Sculpey Air-Dry is worth comparing when it is the easy local choice.
Keep the first project small. Learn how the clay dries, how its surface takes paint and how strong the thin parts feel. That knowledge will do more for the next piece than a cupboard full of unopened materials.