
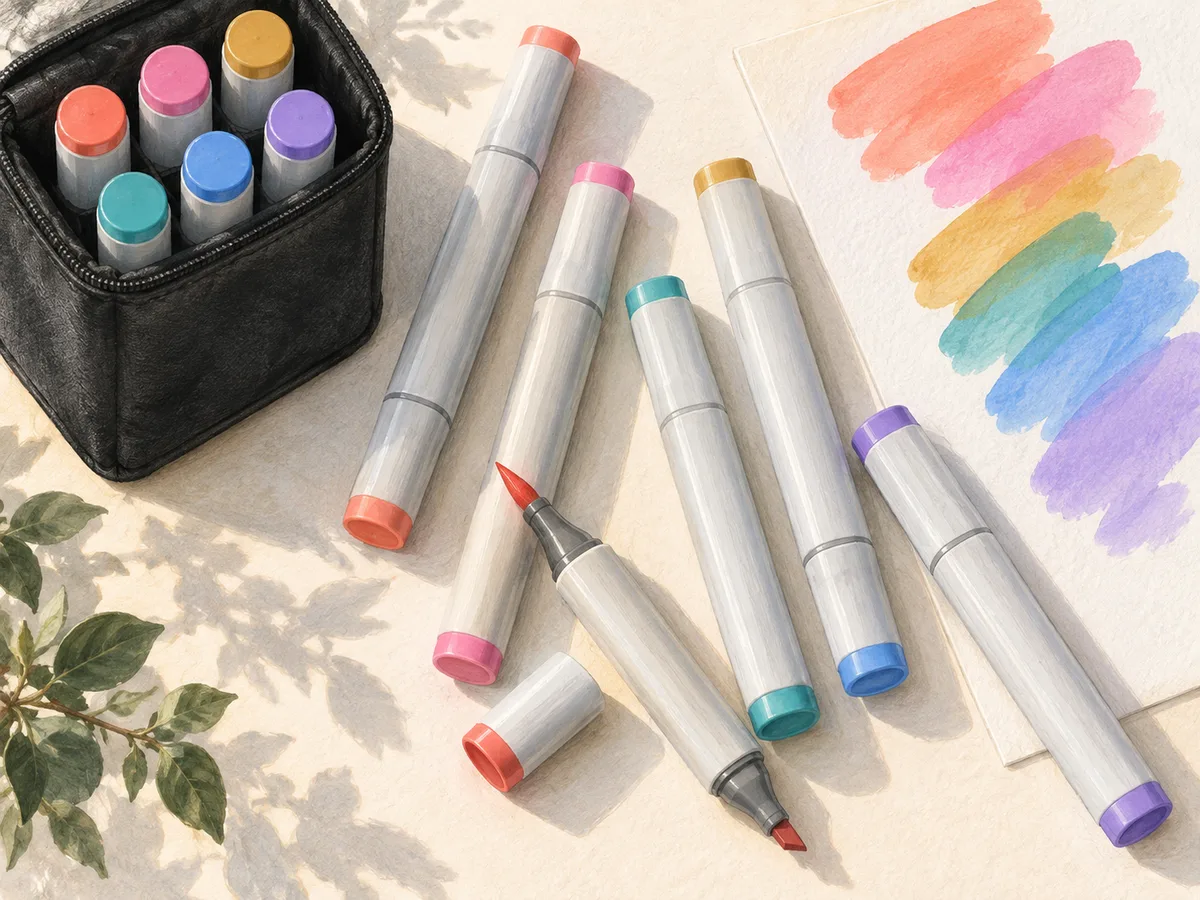
A big set of Ohuhu markers is tempting. Rows of neat caps make it feel as if every color problem has been solved. But a good first set depends on two smaller choices: the tips you like and the paper you plan to use.
My pick is a 120-color Honolulu² set for someone who wants a broad start. You can build light, middle and dark groups. You also avoid a hunt through hundreds of pens for each drawing. If you already own a useful set, check its gaps before buying another.
What makes Ohuhu markers useful?
Good fit: Two useful nib choices in a substantial color set.
Keep in mind: Dye-based ink can bleed through paper and fade in strong light.
Ohuhu markers include alcohol-based markers, water-based markers and paint markers. They are not all the same tool. This review focuses on the Honolulu alcohol-marker family, with the current Honolulu² 120-color set as the starting point.
The alcohol-based ink is useful for smooth fills and soft color blends on suitable paper. It dries fast, which helps keep a drawing moving. It also asks you to plan: a dark stroke is much harder to hide than it would be with opaque paint.
If covering a dark layer with a light one is central to your work, read about Posca paint markers instead. The barrels may look like the same sort of tool, but the ink and paint behave quite differently.
Dual tips: brush tip, fine point or chisel?
| Tip pairing | Who I would choose it for |
|---|---|
| Brush and fine | Small coloring spaces, details and controlled lines |
| Brush and chisel | Larger fills, broad strokes and changing line widths |
The brush nib is the main reason I would choose Honolulu. It lets you vary the width of a stroke by changing the pressure and angle. A fine nib gives you a firmer, narrower point at the other end. A chisel nib has a broad face and a thin edge.
Neither pairing is a straight upgrade. Tiny coloring-book spaces call for a different tool from a large page of loose shapes. Choose for the marks you make most, not for the tip that looks more “professional.”
Honolulu², older sets and the color-code change
There are two changes to keep apart when you shop. Ohuhu revised its alcohol-marker color codes, and it also introduced the Honolulu² barrel design. A set with new codes is not automatically the newer barrel.
The current Honolulu² 120-color listing offers brush-and-chisel or brush-and-fine options. Ohuhu describes a curved barrel and added grip while retaining the line’s blending and color performance.
Check the exact product name, tip choice and photos before you pay. Older stock may still be on sale, and a marketplace title can be less clear than the maker’s own listing. A familiar set number is not enough to settle the version.
I would not replace a working collection just to get a newer shape. In an owner comparison of updated Honolulu B markers, one artist liked the firmer fine tips but did not think a full replacement was worth it. They also reported differences between some color swatches. That is a reason to check your own pens, not to assume every set has changed its ink.
Is 120 the right number of colors?
For a first broad palette, 120 is a useful middle ground. You can work across several color families while keeping the set easy enough to manage. The current listing includes a colorless blender as well as the colored markers.
More colors help when a specific gap slows you down. Perhaps your greens jump straight from pale to dark, or you need softer skin tones. They help less when you are still learning how to blend the colors already on the desk.
Before adding a second set, compare the actual color lists. Sets can overlap. Two boxes with different names are not a promise of two entirely different palettes.
I would rather have a smaller group with useful light-to-dark steps than a larger group full of close repeats. Make a note when you miss a shade during real drawing. After a few pages, that list becomes a much better shopping guide.
Art markers and coloring-book paper
Expect alcohol markers to bleed through many papers. A thick page is not a guarantee against it. The paper’s surface and coating matter, as does how much ink you lay down.
Put a protective sheet under the page before you start. Test in a spare corner or on a loose sheet from the same pad. Check the reverse and the sheet beneath it after the ink dries. In a double-sided coloring book, the reverse picture may be at risk.
Smooth paper made for alcohol markers is a sensible starting point. Rough paper can feel less kind to a brush nib, while very absorbent paper can use up ink fast. “Bleedproof” labels are worth testing too, especially with repeated layers.
In a 120-set owner discussion, users flag bleed-through even while praising the color choice. I would budget for suitable paper before spending the same money on extra shades.
Color codes and your color chart
Color-coded caps are a guide, not a perfect preview of ink on your paper. Fill in the supplied color chart, or make a simple grid with the color code beside each patch. Use the same sort of paper as your planned work.
Let the swatches dry before choosing a palette. Put close colors side by side and group useful light, middle and dark shades. That makes blending choices much easier than searching a case by cap alone.
Ohuhu’s FAQ and color-code resources explain the move to the newer numbering system. Keep the old-to-new color codes with your chart if you own mixed stock. A code on an older tutorial may no longer match the code on a new cap.
Blending with Ohuhu alcohol markers
Start with a small area and two related colors. Put down the light shade. Add the darker one where you want depth. Work back over the edge with the light marker before the area dries.
The aim is a soft join, not endless scrubbing. Too many passes can soak the paper and widen the color beyond the line. A light touch and a few planned steps are easier to control.
Treat the colorless blender as another tool to learn. It is not white ink and it does not behave like an eraser. Test what it does to the color and paper before using it to fix a finished patch.
Refills, nibs and care
Check that a refill or replacement nib matches your exact marker and color code before buying it. Do not assume every color, region and product generation has the same stock available. A refill plan only helps if you can obtain the one you need.
Cap both ends firmly when you finish. Store the pens away from strong sun and heat, and follow the care notes that came with the set. Ohuhu’s FAQ warns that its dye-based inks can fade with strong light exposure.
I would use these markers for sketchbooks, practice and work to scan. They are a poor choice for art you want to keep in a bright window. If display life is your main concern, compare the color-specific lightfastness ratings of the gouache paints in this guide.
Honolulu B, Oahu and Kaala: art markers with different tips
The Ohuhu range is easier to shop when you split it by nibs. Honolulu B pairs a brush with a fine point. The Ohuhu Oahu series uses fine and chisel ends. Kaala B uses a mini brush and a slim broad tip. These are different ways to put colors on a page, so compare the tools before comparing the price.
I would choose Honolulu B for soft strokes and precise details. For an artist who likes firm tips, the Ohuhu Oahu series deserves a look. Its wide chisel tip can cover a block of color, while the fine end adds small marks. A brush is useful, but it is not a requirement for good art.
Kaala B art markers offer a smaller mini brush. They may suit someone who finds a full brush too broad. Check the color selection: a landscape set can be a useful collection on its own and still repeat colors you own. One customer on that page reported overlap with another Kaala set and limited refill options. Check the current list for yourself.
Molokai is another name in the alcohol-marker family. Do not assume that a matching color name means the same nibs or body. Ohuhu's marker FAQ is the place to check the exact series. The brand also sells water-based art markers. Those belong in a separate comparison if you want to blend with water.
A buying check for dual tips and color codes
Before buying Ohuhu markers, I would check these details in order:
- The two ends. Dual tips should give you two marks you will use. A brush and fine pairing is wasted if you only want a broad, firm nib.
- The color codes. Compare the actual codes with your existing chart. Colors that look different online may be repeats.
- The set contents. Check how many colored art markers are included and whether the colorless blender is counted separately.
- The carrying case. Check that the listing includes it. An included case can be useful, but its layout matters more than the word “free.”
- The total price. Include delivery, tax and any paper needed for the project. A low price per marker is less useful if half the colors repeat your set.
- The seller and version. Check the full name, return terms and warehouse. A thumbnail can show an older barrel even when the text has changed.
I would use the same checks on Amazon or any other marketplace. Read reviews for the exact set and tip pairing. A review of Oahu art markers does not settle how Honolulu B feels. Photos of color-coded caps help identify the version; dried swatches help explain the colors.
Keep the markers organized without buying more storage
Start with the carrying case that your Ohuhu markers come in, if your chosen pack includes one. Put related colors together and keep your chart in the same place. The aim is to find a light, middle and dark shade without taking out every marker.
Color-coded caps help you find a family fast. Use the color codes to confirm the specific shade. A cap seen under warm indoor light can look quite different from its dried ink on white paper. For a mixed collection, a small card with both old and new color codes avoids guesswork.
Keep the caps on the right ends while you work. Check both ends when packing away dual tips. One loose cap can leave a useful marker dry even if the other end was closed. A carrying case makes the set easier to move; it cannot protect uncapped ink from drying.
Three small exercises for beginners
Blend a circle. Choose three related colors from the color chart. Draw a small circle, fill it with the lightest shade and add a darker crescent. Soften the join while the wet ink remains workable. This is a quick way to learn how your alcohol markers and paper respond.
Compare the dual tips. Use one marker to draw rows of lines. Turn the chisel to change their width, or vary pressure on the brush. Add texture with a few spaced marks. This helps beginners see which end fits their drawing style before buying more art markers.
Fill a simple shape. Use overlapping strokes across a small square. Uneven coloring can come from a dry edge, thirsty paper or a marker running low. Try a smaller shape before adding more wet ink. With alcohol markers, flooding the area can make the ink bleed beyond the outline.
Keep these tests in your sketchbooks with the color codes beside them. They make a useful record of blending choices and help experienced artists compare a new paper with an old favorite. You do not need a finished picture for every page to teach you something.
Ohuhu markers or a smaller premium set?
If you are comparing Ohuhu markers with Copic markers, start with the work you want to make. Price per pen is only one part of the choice. Check the nib feel, replacement parts, refills and the colors sold where you live. Do not buy a whole new system just to fill one gap.
My preference for beginners is to leave some budget for paper and time to learn. For professional artists, keeping a familiar color available may matter more than owning a wide range. Art markers are tools with ongoing costs, so choose the system you can keep using.
Who I would recommend them to
Ohuhu markers in the Honolulu line suit a hobby artist who wants a broad palette. They make sense for coloring and drawing on suitable paper. The choice of two tip pairings is useful, and a clear swatch system can make a large set feel manageable.
Look elsewhere for opaque paint or color you can wash out with water. I would also skip these if you cannot risk bleed-through. Those are differences between tools, not faults a larger marker set can solve.
Choose the right tips, protect the page underneath, and use the colors you have for a while. That is a better start than trying to buy the entire range at once.